 Thinkabara
🍎 How to Draw an Apple
Ages 3–6 6 steps
How to draw an apple
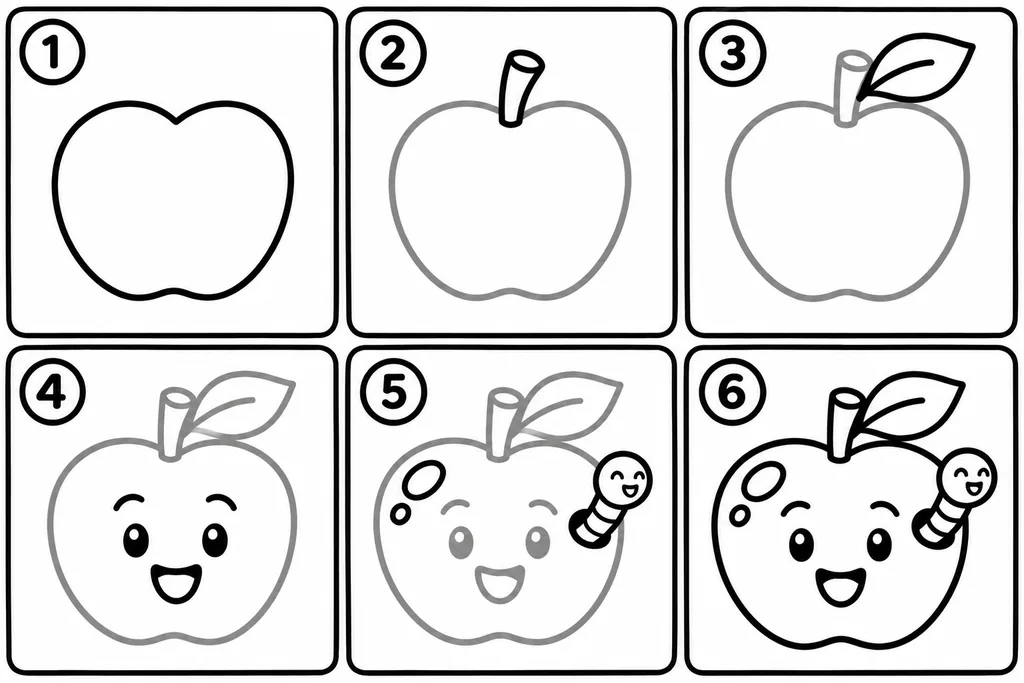
- Draw a round shape with a small dip on top.
- Add a short stem from the dip.
- Next to the stem, draw a leaf with a line in the middle.
- Draw two eyes and a smiling mouth on the apple.
- Add a small shine mark and a cute worm peeking out.
- Go over all the lines in black.
💡 Tip: Color the apple red or green and the leaf dark green.
What you need
A pencil and an eraser for the first lines, a black marker or felt-tip pen to go over the final outline, and crayons, markers or colored pencils to color it in. Plain printer paper is fine.
Tips for drawing an apple with kids ages 3–6
- Draw each step big on a whiteboard or paper first and let your child copy it right after you — one step at a time.
- Little hands find circles and ovals easier than straight lines; a chunky crayon or marker is fine for every step.
- Skip the small details if they get frustrating — the shape is what matters at this age.
Fun facts about fruits
- If you cut an apple across the middle instead of from the top, the seeds make a star shape. Each seed could grow into a new apple tree.
- Most of a watermelon is water, which is why it is so refreshing on a hot summer day. Watermelons grow on vines that creep along the ground.
- Pineapples don’t grow on trees. They grow on a low plant with sharp leaves, and each plant usually grows just one pineapple at a time.
Color it next
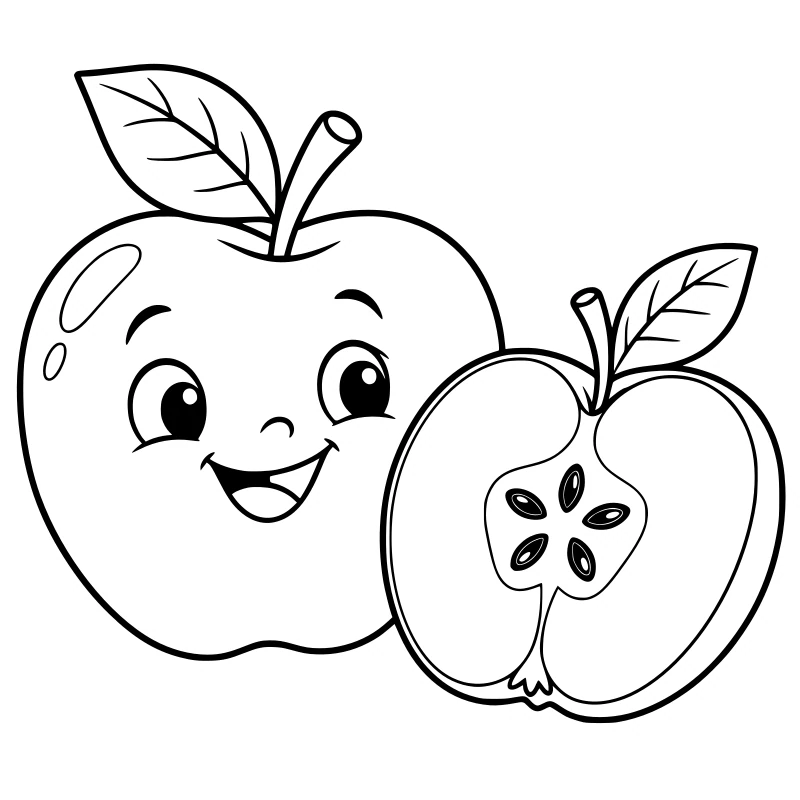 Smiling apple and half an apple
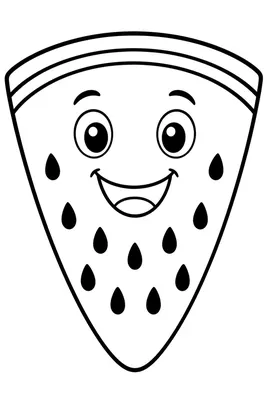 Smiling watermelon slice with seeds
 Smiling pineapple
🎨 Done drawing? Color a ready-made picture: Fruits coloring pages.
Draw something else
Need more ideas? See easy things to draw, cute things to draw or the random drawing idea generator.
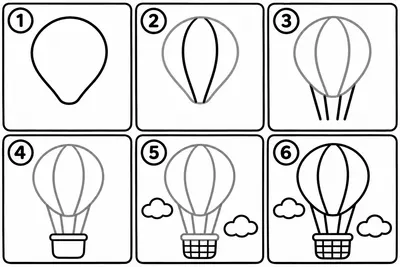 🎈 Hot air balloon
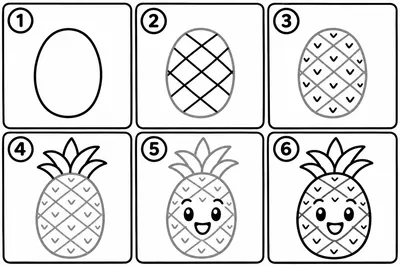 🍍 Pineapple
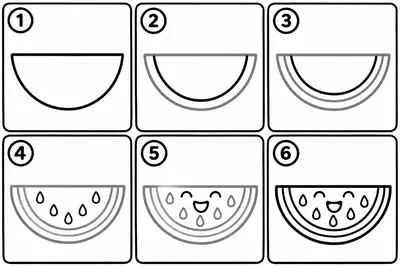 🍉 Watermelon slice
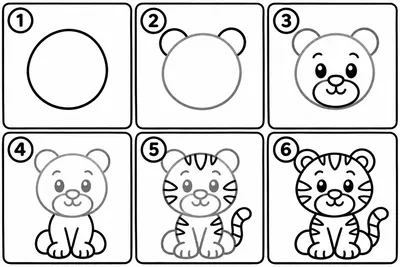 🐯 Tiger cub