 Thinkabara
🫒 How to Draw an Olive Branch
Ages 4–7 6 steps
How to draw an olive branch
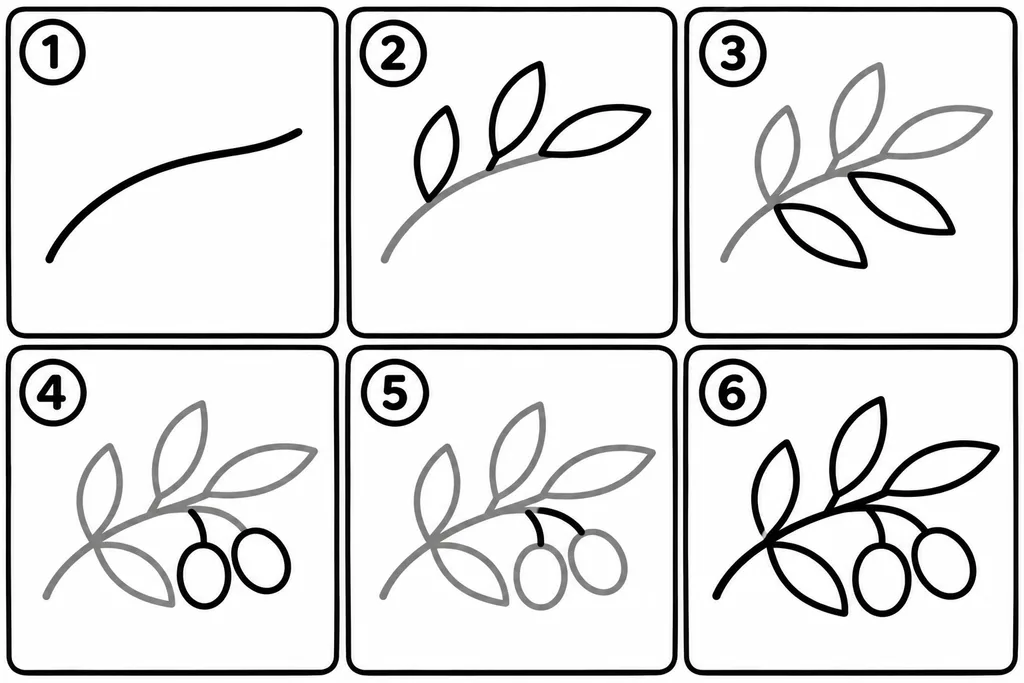
- Draw a long curved line. This is the branch.
- On one side of the branch, draw narrow pointy leaves.
- Add narrow leaves on the other side too.
- Under the leaves, draw small oval olives.
- Connect each olive to the branch with a short stem.
- Go over the branch, the leaves and the olives in black.
💡 Tip: Color the leaves dark green and the olives light green or dark purple.
What you need
A pencil and an eraser for the first lines, a black marker or felt-tip pen to go over the final outline, and crayons, markers or colored pencils to color it in. Plain printer paper is fine.
Tips for drawing an olive branch with kids ages 4–7
- Draw each step big on a whiteboard or paper first and let your child copy it right after you — one step at a time.
- Little hands find circles and ovals easier than straight lines; a chunky crayon or marker is fine for every step.
- Skip the small details if they get frustrating — the shape is what matters at this age.
Draw something else
Need more ideas? See easy things to draw, cute things to draw or the random drawing idea generator.
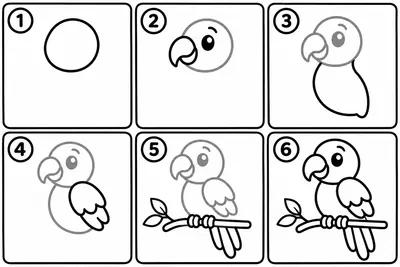 🦜 Parrot
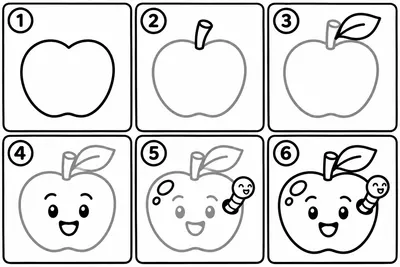 🍎 Apple
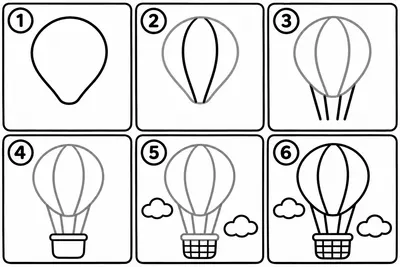 🎈 Hot air balloon
 🍍 Pineapple